This blog post starts my discussion of the Stayman convention as described in the book Commonly Used Conventions in the 21st Century, which is part of the ACBL Bridge Series. Including exercises, that chapter is 34 pages long, and every page is packed with great explanations and examples. What I hope to do with my cookbook approach is show you how to use my bridge deal generator to provide playable deals that fit the situation you are reading about.
This post is “Part 1” because it will take several posts to cover the whole chapter.
There are two main ways to use the bridge deal generator:
Generate deals that fit the situation, with some degree of randomness in cards not specified in the example, and use those deals to help you think about the concepts. I find this very useful, because most bridge instruction tends to give you just one hand out of four, then it describes alternative bidding scenarios based on the other hands—which are described in general terms and which you have to imagine. Often, one paragraph of explanation will conjure up three different scenarios, each with a different card distribution and point range in the unseen hands. While this form of instruction is necessary due to space limitations in print, I prefer to actually see entire deals—and lots of them—that fit the situation. Thanks to software, we can have both written instruction and tons of actual deals.
Generate deals that fit the situation, and actually play them in your bridge program. Once you come up with a deal setup, or recipe, that you like, you can generate sets with up to 128 different deals of that kind. Playing many variations of the same setup is great for cementing your recognition of the pattern, and for understanding how the outcome depends on card distribution and card play.
Since this is the first post on conventions, rather than going too deeply into the chapter I will instead focus on some basic concepts of how you can use the bridge deal generator to refine your deals. If I mention aspects of Stayman that come up later in the chapter, don’t worry—you haven’t missed anything. My goal here is to demonstrate software usage, not to repeat every explanation from the book.
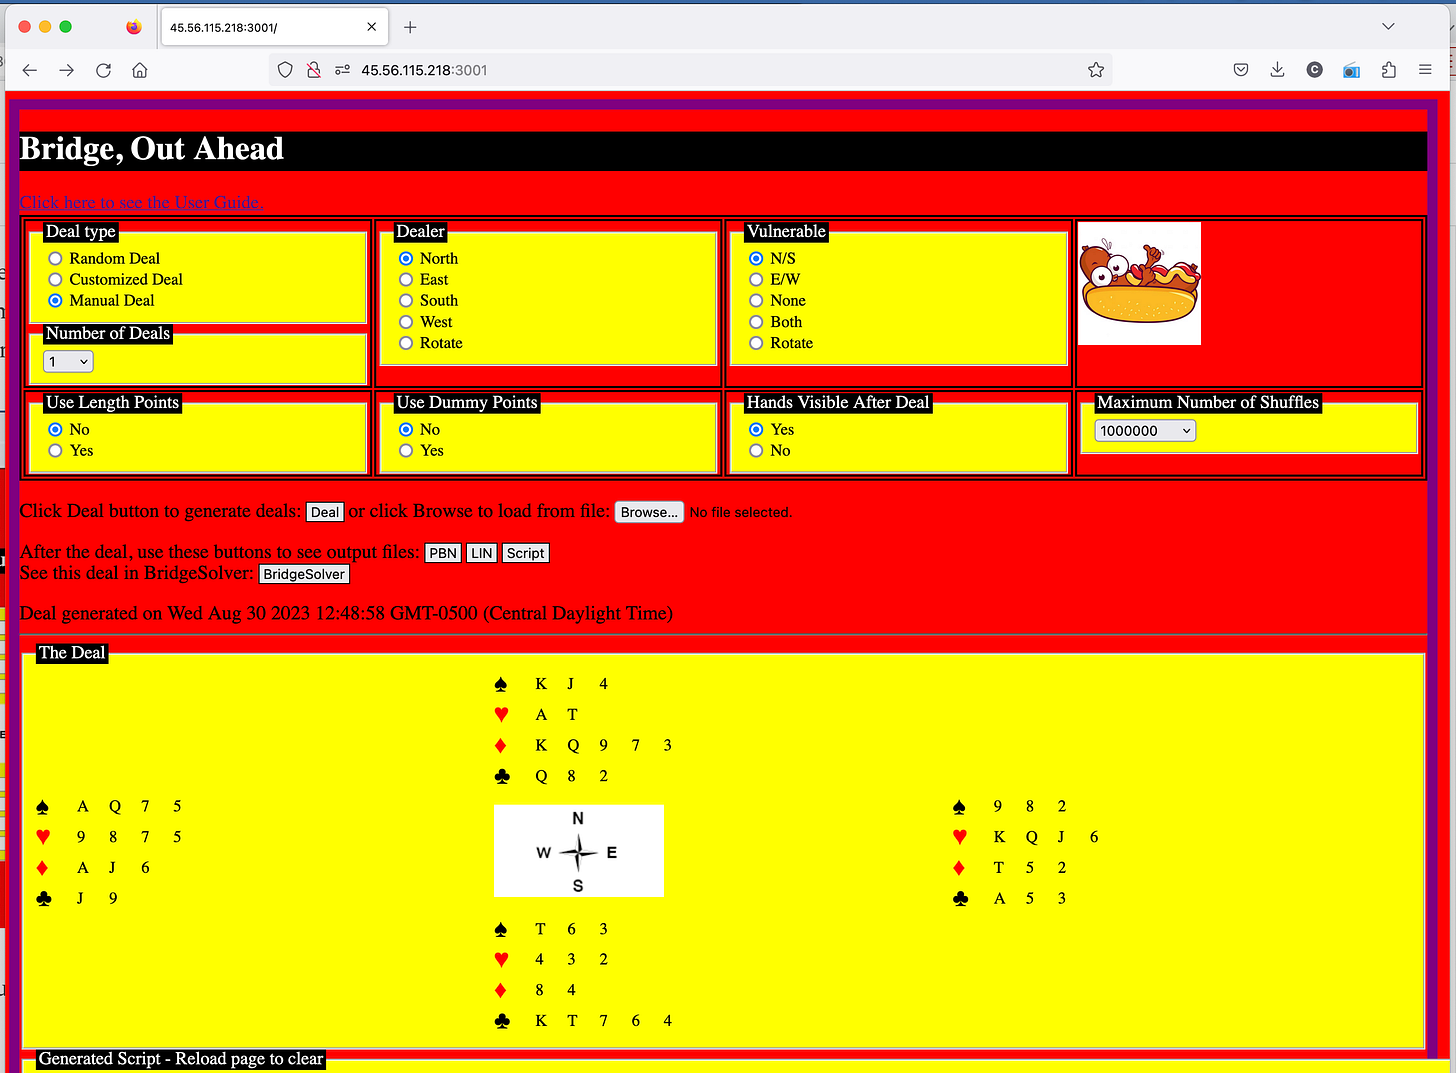
To that end, in this post I will use only the very first opener’s hand from the book. It is a hand with 15 high-card points with these cards:
Spades: K J 4, Hearts: A 10 Diamonds: K Q 9 7 3 Clubs: Q 8 2When a hand is fully specified like this, you will want to use my program’s manual deal feature to generate your deals. That feature is fully described in the user manual.
I clicked on “Manual Deal” in Deal Type, and I let it default to “1” in Number of Deals.
I click the “Deal” button to get to the Manual Deal page. There, I enter the dealer’s hand. Note the use of “B” to mark the end of each suit; that tells my generator not to randomly assign any other cards in that suit to that hand.
I click either “Click here…” button and there we have it, a deal in which opener has the desired hand:
In the book, the only “lesson” or comment for North’s hand is “open 1NT with 15 high-card points” so there is no additional demand on the reader’s imagination. That’s good, though—it’s a blank slate so I can illustrate how you might refine a deal if you did have other points to ponder.
One point to ponder is what contract this deal would—or should—lead to. Now, for hard-core study you will want to think through it yourself. But when trying to get yourself some decent deals with certain likely outcomes, let’s outsource even more of the work. Click on the “BridgeSolver” button and you will see something like this:
What ho! The finest bridge analysis program in the land (not mine, sadly), tells us the likely outcomes in double-dummy play!
Three clubs in North or South is the highest likely contract. Given that the book only used this example to show a 1NT opener with no clue as to any of the other hands, that NS 3C is a totally OK contract.
But suppose the book used this hand to illustrate more points, and that it made those points by asking you to imagine different scenarios (that’s how they do, isn’t it). Suppose they said what if the responder has four of each major and at least 11 high card points, which would be a game-going situation. To the Bat Pole! Wait! I mean: To the manual deal page!
Ha! North/South are now loaded for bear. Let’s see the resulting deal:
Responder is now set up to very likely use Stayman to explore for an 8-card fit in a major suit.
Click on BridgeSolver to find out the best contracts:
Whoa! I really overloaded NS, didn’t I! Games and slams everywhere!
Now, you could go wild and generate a bunch of hands based on this recipe and play them. It would help you with your slam bidding and card play, for sure. Tread carefully, though: with the degree of randomness in our setup, you never know where that king of hearts will wind up, and with what split in hearts between East and West. You can bid slam, but you still have to play the cards.
But for now, if you’re just focusing on more likely deals, let’s revisit the recipe one more time, this time with intent to make ourselves a nice set of practice deals. This time I specified Manual Deal as before, but I chose to generate a set of 32 deals:
Click on “Deal” to get to the manual deal page. Now, instead of giving South all those honors, just settle for four of each major with no specific cards. While we have not specified responder’s high-card points, at least we know they will have the major suits that are conducive to Stayman:
Giving:
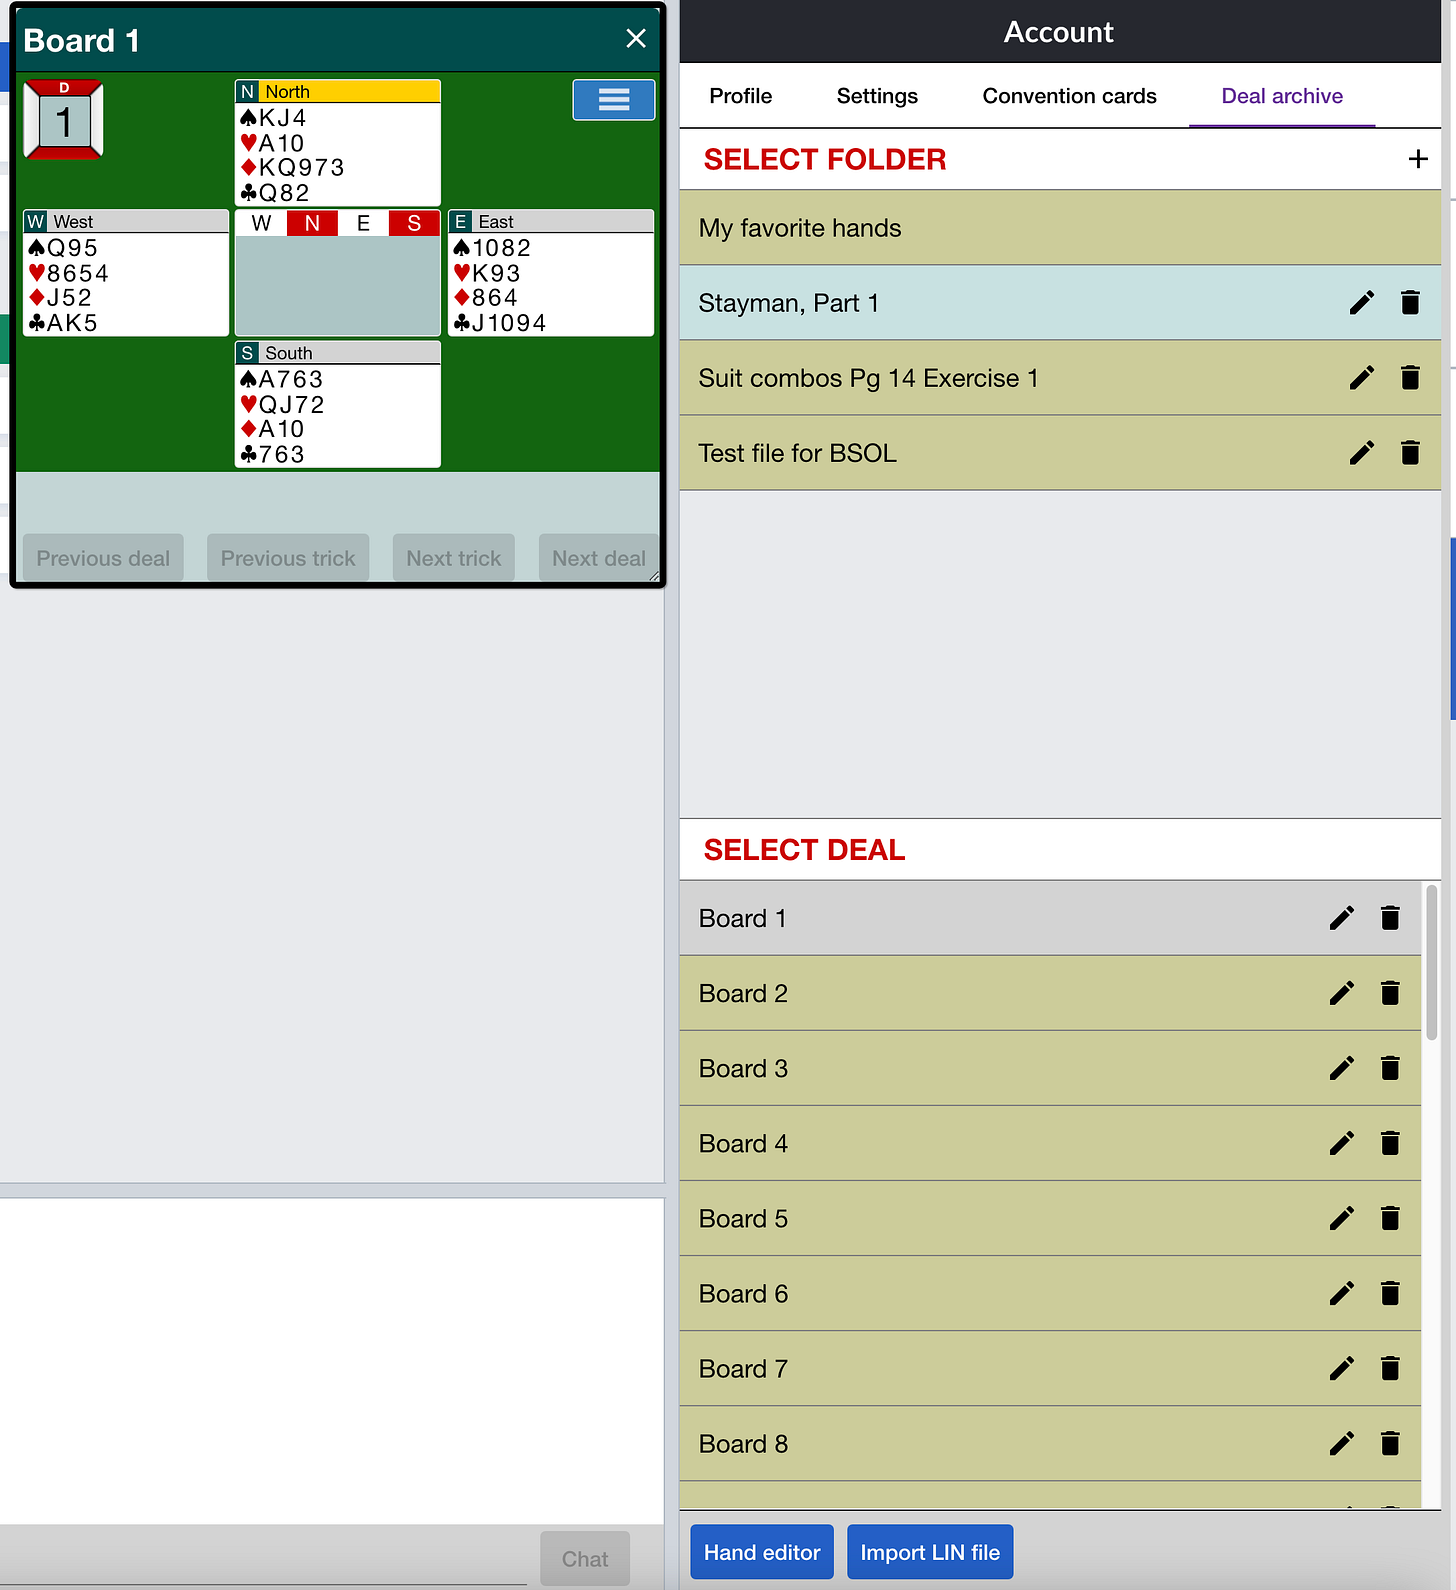
Well, N/S still wound up with hefty points, but no more slam bidding. BridgeSolver puts this at NS 4S+1. But this is just one out the 32 deals we just generated to our recipe. Now that we know we have a recipe that is conducive to a 1NT opening bid, and a responder with some majors to think about, we can take our set of deals off into our bridge-playing software and play them out. For example, here’s the set I just generated, now loaded into Bridge Base Online, ready for me to set up a table and play them:
That’s just the how-to on wrangling one hand into something you can play with. In future posts, we’ll cover more of what the book is describing for other examples.
Onward!


